Create PSM (Platform Specific Model)
In this part, you will learn how to use the MiSAR Parser to generate a Platform Specific Model (PSM) from an existing microservice codebase.
The PSM is the first model produced by MiSAR. It is created by analysing the source code and configuration files of the selected microservice system.
Launch Parser
Run python3 MiSAR.py to open the MiSAR AIO interface.
python3 MiSAR.py
Then click Launch under MiSAR Parser.
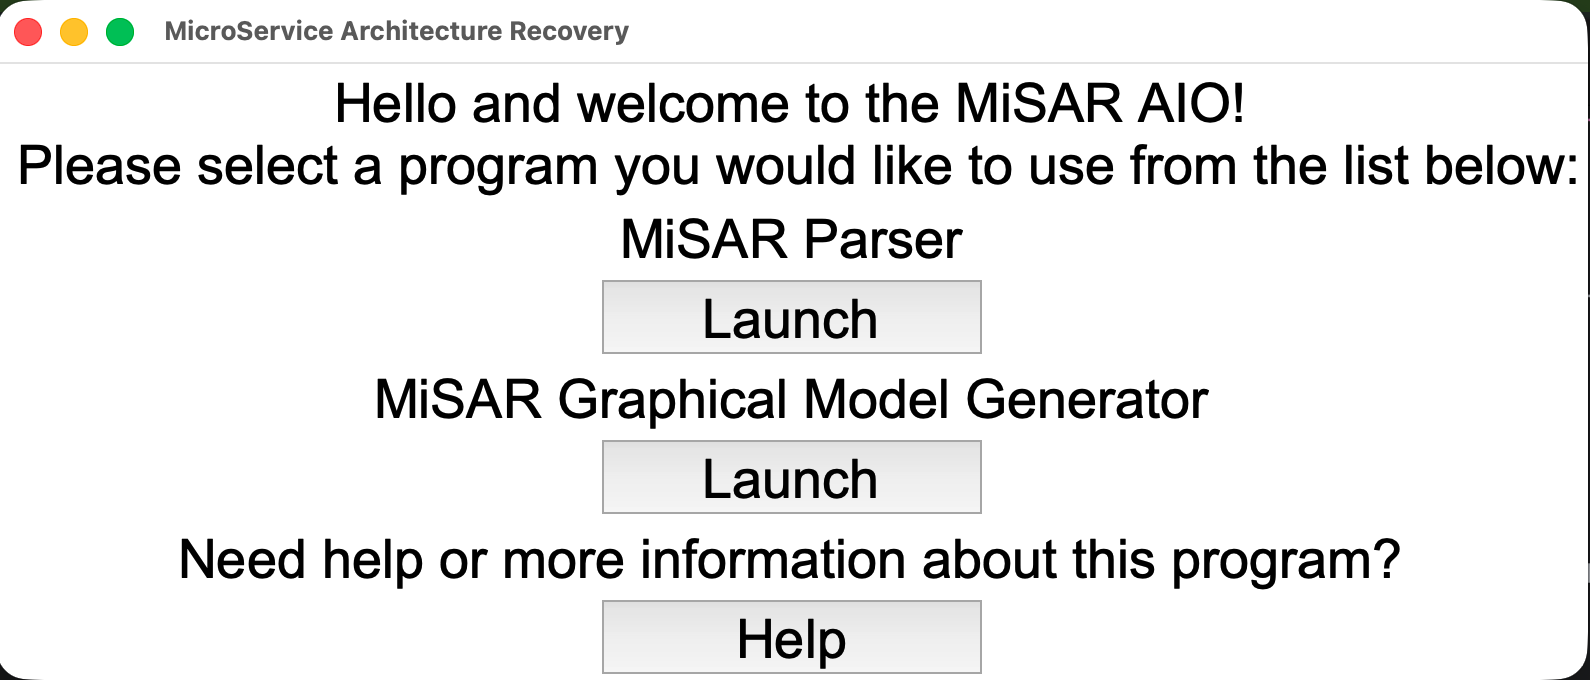
The MiSAR Parser application will open.
Restoring a Saved Parser Session
MiSAR v3 can save the paths and input values from the previous Parser session.
When the Parser starts and saved session data is available, MiSAR displays the following prompt:
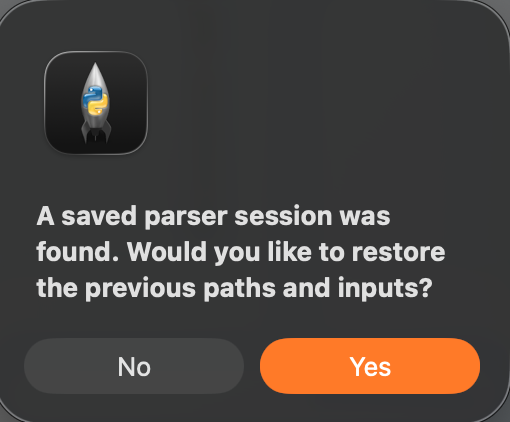
Choose:
- Yes to restore the previous paths and inputs.
- No to continue without restoring them.
Restored values can still be reviewed, changed, added, or removed before generating the PSM. Session recovery is useful when reopening the Parser after closing MiSAR or restarting the computer.
Parser Input Fields
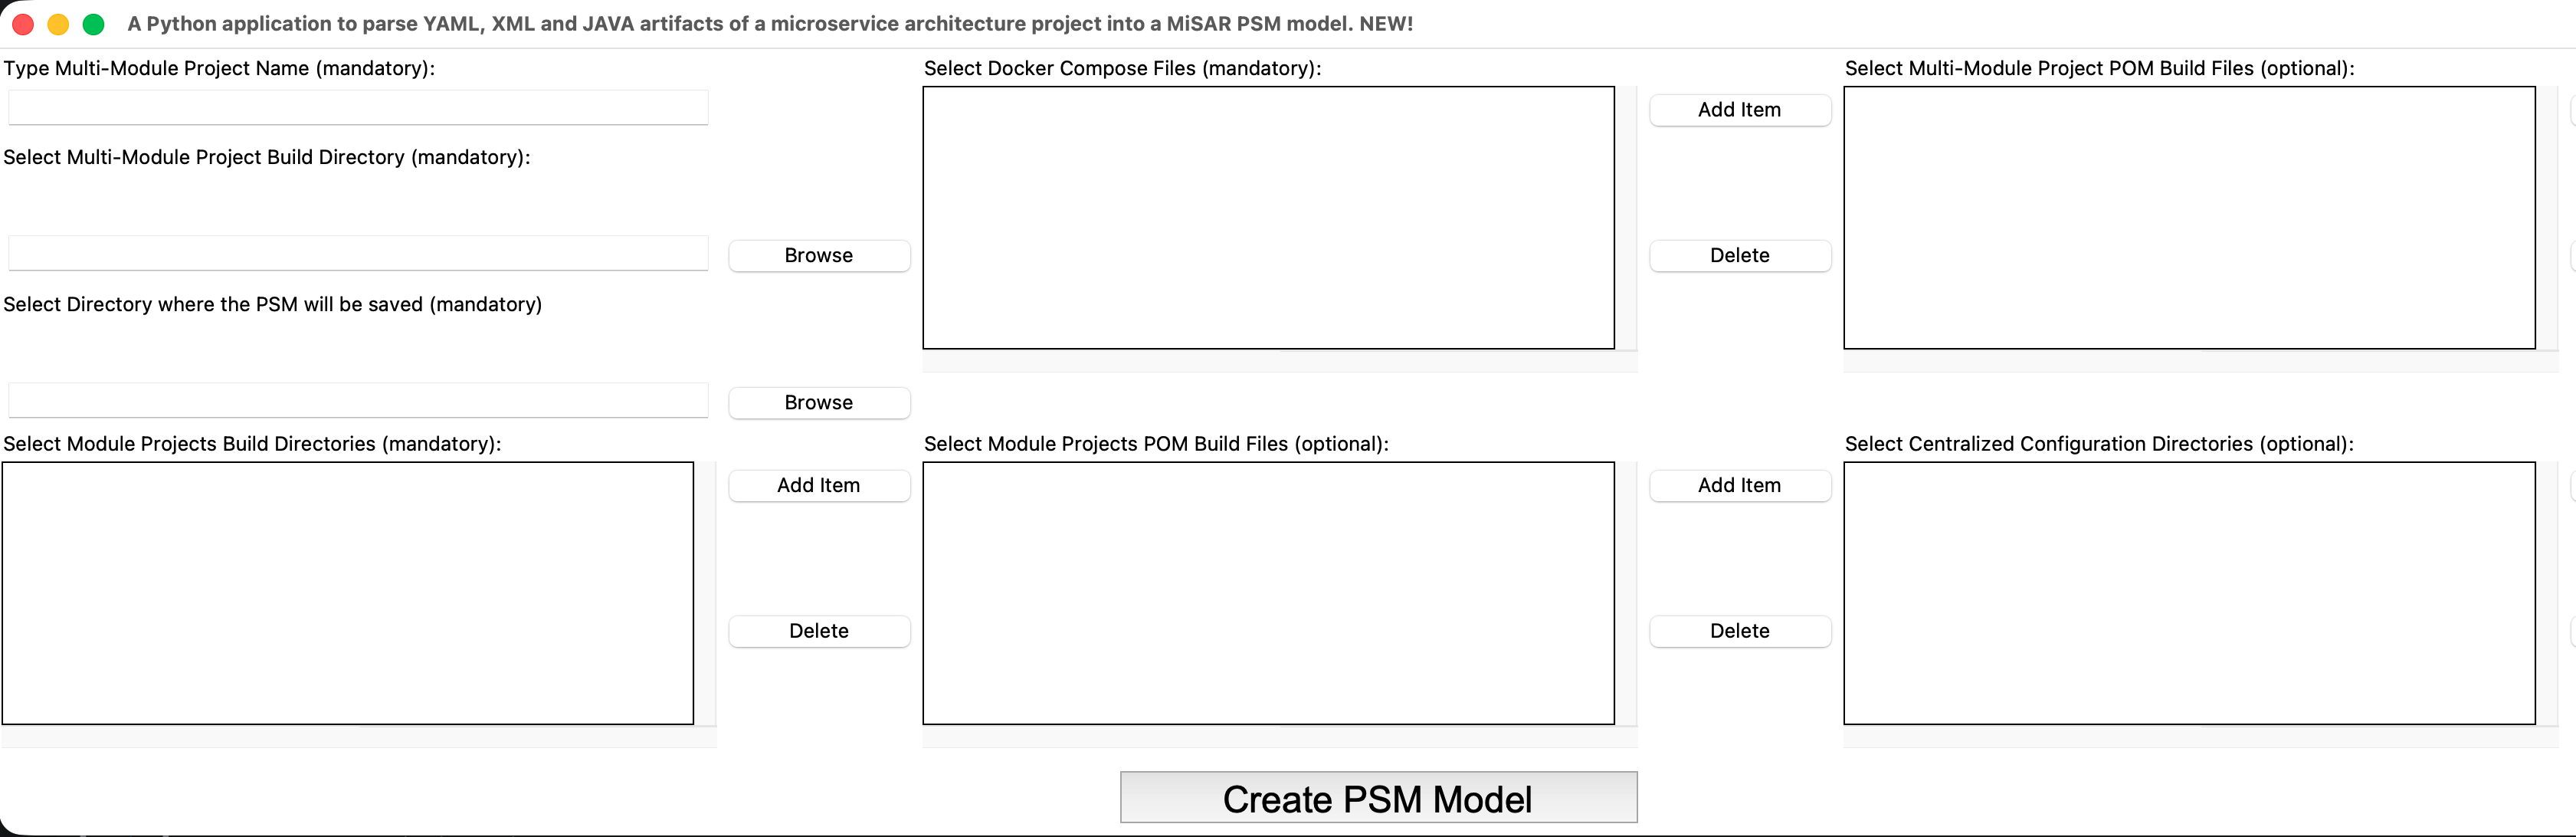
The MiSAR Parser requires information about the multi-module microservice project that will be analysed.
The field names below match the MiSAR Parser interface.
| Number | Field in MiSAR Parser | Required | Description |
|---|---|---|---|
| 1 | Type Multi-Module Project Name | ✅ | The name of the microservice system or project being analysed. The parser automatically adds -PSM at the end of this name when creating the PSM model. |
| 2 | Select Multi-Module Project Build Directory | ✅ | The main build directory of the project. |
| 3 | Select Docker Compose Files | ✅ | The Docker Compose file or files used by the system. These help MiSAR understand the services and project structure. |
| 4 | Microservice Project Folders | ✅ | The build directories of the individual microservices. These may be populated automatically by the importer, or selected manually if MiSAR cannot detect them. MiSAR may also show detected language/framework labels next to each directory, for example [Java: SPRING], [Python: FASTAPI], or [Unknown]. |
| 5 | Select Directory where the PSM will be saved | ✅ | The output folder where the generated PSM file will be saved. Only select the folder, MiSAR will create the PSM file inside it. |
| - | Select Multi-Module Project POM Build Files | ❌ | The main Maven pom.xml build file or files for the multi-module project, if available. |
| - | Select Module Projects POM Build Files | ❌ | The Maven pom.xml files for the individual module projects, if available. These may be populated automatically for Maven-based Java projects. |
| - | Select Centralised Configuration Directories | ❌ | Directories that contain centralised configuration files used by the microservice system, if applicable. |
| 6 | Create PSM Model | ▶️ | Button used to start the PSM generation process after the mandatory fields have been completed. |
How to Create a PSM File
Follow these steps to generate a PSM file.
1. Enter a Project Name
Choose a suitable name for your PSM project.
For example:
my-company-code
MiSAR will automatically add -PSM at the end of the name when creating the PSM model.
2. Select the Source Code Directory
Use Select Multi-Module Project Build Directory to select the location of the source code.
Select the exact folder that contains the source code. For example, if the code is inside a subfolder, open that subfolder or click on it, then press the Select Folder button.
This step is important because selecting the wrong parent folder may prevent MiSAR from finding the expected project files.
3. Select Docker Compose Files
Use Select Docker Compose Files to add the Docker Compose file or files used by the microservice system.
Docker Compose files help MiSAR understand the project structure, services, and relationships between modules.
Automatic Importer
If the project includes Docker Compose files, MiSAR can use them to automatically detect and populate several fields.
After selecting the Docker Compose file, MiSAR may prompt you to auto-detect the project files.
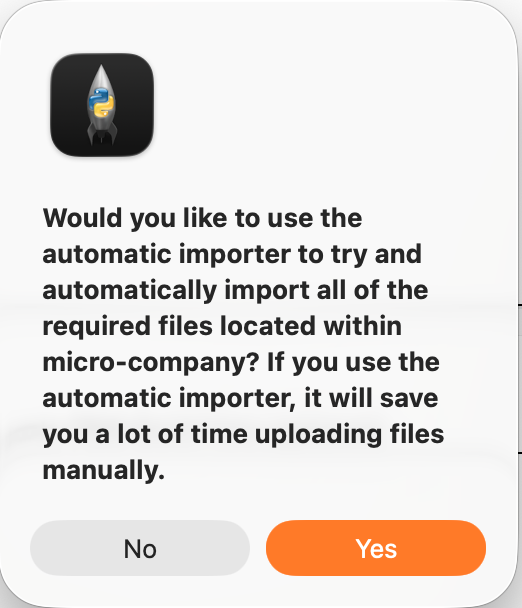
When prompted, click Yes to allow MiSAR to auto-detect the related project files.
After the automatic importer runs, MiSAR may populate fields such as:
- Microservice Project Folders
- Select Multi-Module Project POM Build Files
- Select Module Projects POM Build Files
- related Docker service information used by the parser
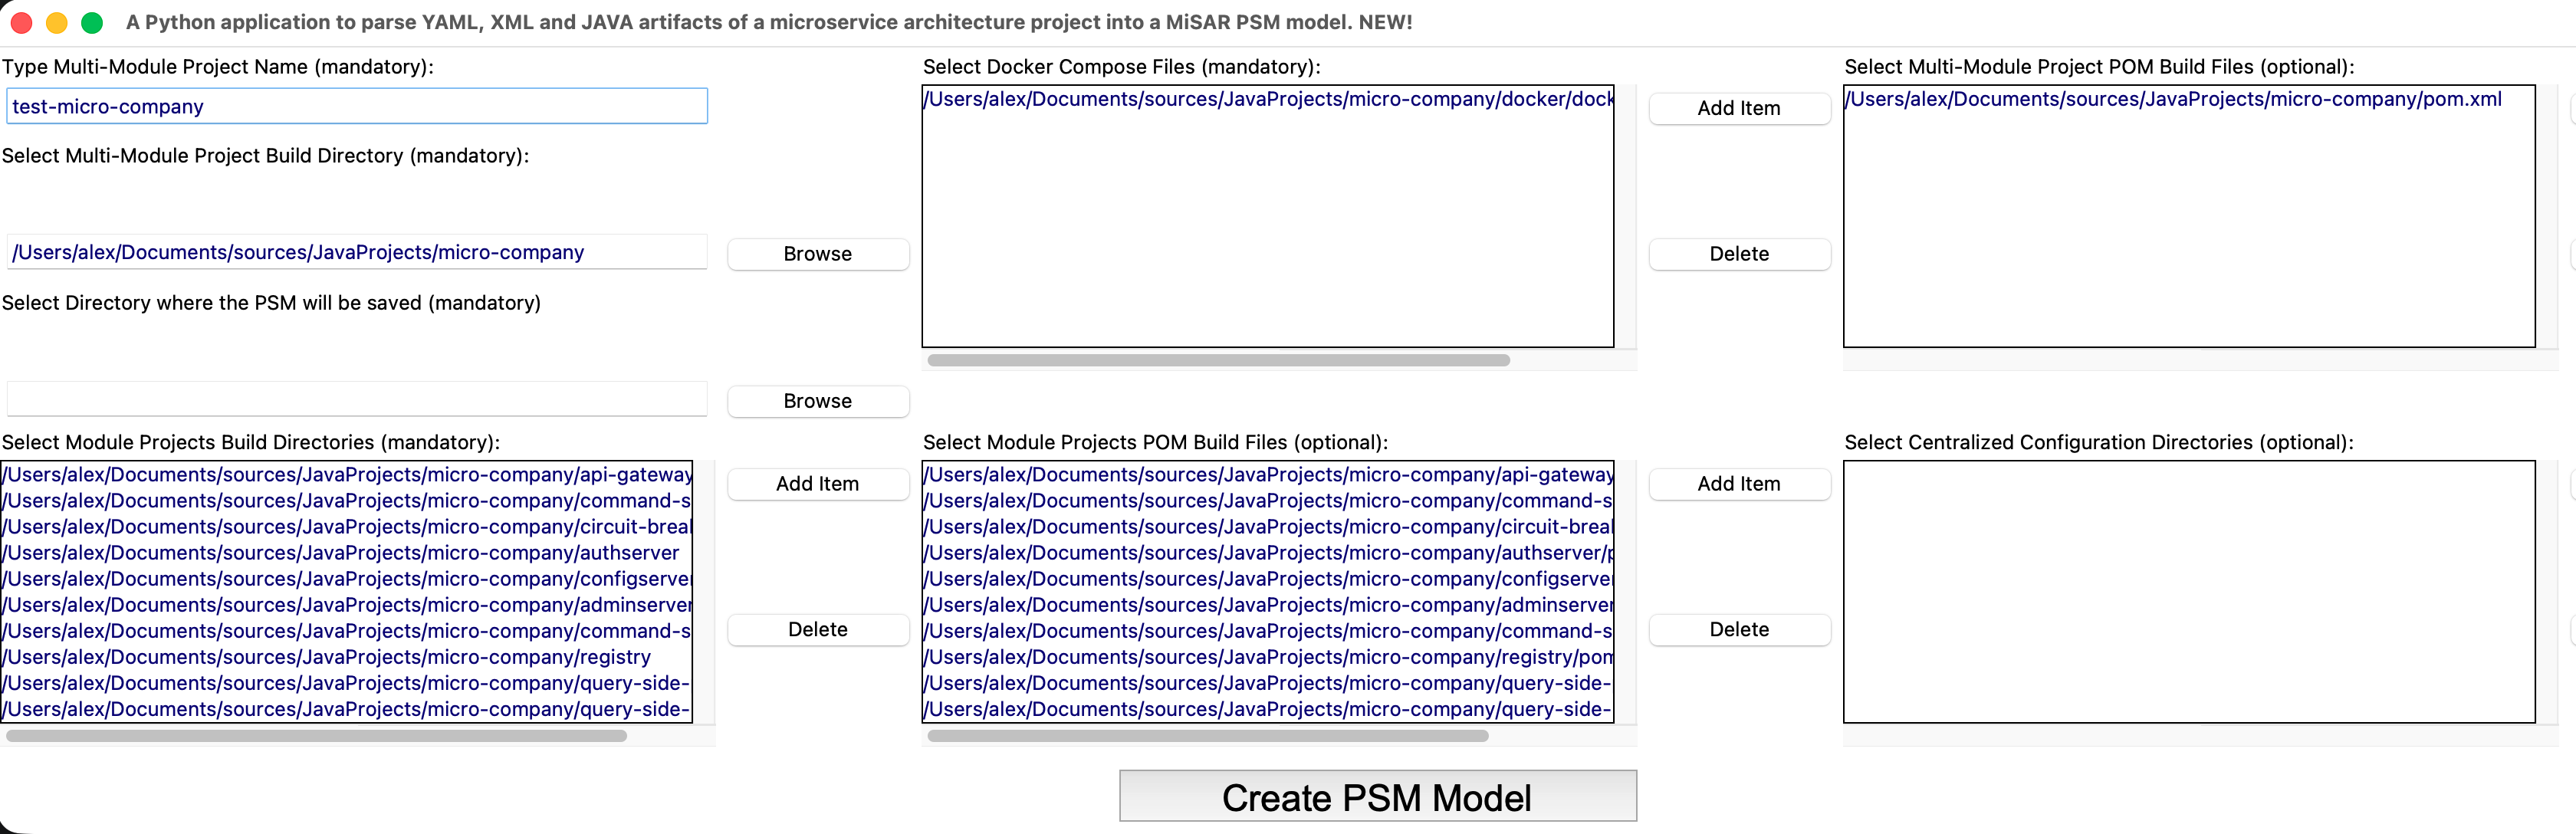
You can still manually edit, add, or remove entries if needed.
4. Check or Add Module Project Build Directories
After using the automatic importer, check whether Microservice Project Folders has been filled correctly.
When microservice project folders are selected, MiSAR may display the detected language and framework next to each directory.
For example:
/path/to/book-service [Python: FASTAPI]
/path/to/order-service [Java: SPRING]
/path/to/payment-service [Python: DJANGO]
/path/to/mixed-service [Java: SPRING; Python: FASTAPI]
This label is only shown to help users understand what MiSAR has detected in each folder. The actual selected directory path is still used internally by the parser.
MiSAR may shorten long paths in the visible list to keep the interface readable. Copying a selected path copies its full path, while the shortened value remains visible in the interface.
If MiSAR shows [Unknown], it means the folder was selected but MiSAR could not confidently identify a supported language or framework from the files inside that directory. This can happen for frontend projects, unsupported languages, incomplete services, or folders that do not contain recognisable build/dependency files.
Depending on the Docker Compose file and project structure, MiSAR may not be able to automatically detect every microservice directory.
If this happens, add each microservice directory manually.
For each microservice, select the exact folder where that microservice's source code is located.
Note:
If you are using the automatic importer with a supported Java project, you usually do not need to manually add Microservice Project Folders unless the detected values are missing or incorrect.Note for non-Java projects:
The Docker Compose automatic importer currently works best with Java-based microservice projects.If the project is not a Java project, you may need to add the microservice build directories manually using Microservice Project Folders.
Support for improved automatic detection for non-Java projects is currently under active development.
POM File Prompt
During the import process in Microservice Project Folders, MiSAR may ask whether you want to read the pom.xml files.
MiSAR initially recovered Java projects, so this prompt is useful for Maven-based Java systems.
-
If your project is Maven-based, click Yes.
-
If your project is not Maven-based, click No.
5. Select the PSM Output Directory
Use Select Directory where the PSM will be saved to choose where MiSAR should save the generated PSM file.
Only select the folder. MiSAR will create the output file inside the selected directory.
6. Create the PSM Model
After all mandatory fields are filled, click Create PSM Model.
MiSAR will then analyse the selected project and generate the PSM file.
Validation
If required fields are missing, an error message will appear after clicking Create PSM Model.
The missing fields will also be highlighted.
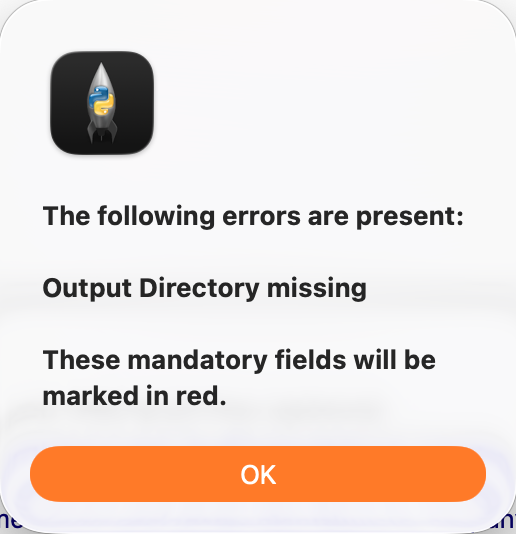
If this happens, check the mandatory fields and try again.
Output
If the process completes successfully, the PSM file will be generated in the selected output directory.
A success message may also be displayed showing the file location.
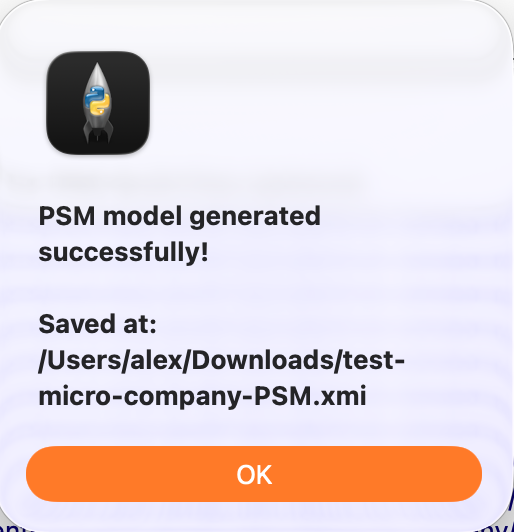
Notes
-
Use a clear project name so the generated PSM is easy to recognise later.
-
Always select the exact folder that contains the source code.
-
Docker Compose files can help MiSAR auto-detect project information.
-
If automatic import does not detect all microservice directories, add them manually.
-
Microservice project folders may display detected language/framework labels, such as
[Java: SPRING],[Python: FASTAPI],[Python: DJANGO], or[Unknown]. These labels are informational and help confirm what MiSAR detected in each selected folder. -
For Maven-based Java projects, allow MiSAR to read the
pom.xmlfiles when prompted. -
For non-Java projects, manual microservice directory selection may be required.
Next Steps
If you have the final PSM file & you've completed the QVT Installation and Setup steps, you are ready to continue to create the PIM from the generated PSM! Create PIM Guide
Otherwise, Please follow the QVT Installation and Setup guides to prepare your environment for the next step of the MiSAR workflow. QVT Manual installation | QVT Setup